Over the past few years I’ve been working towards swapping out some of the skin and hair products I use for safer more natural alternatives. I mentioned a few things in the past like the honey face wash challenge I did and creating an oatmeal mask. Those were from years ago and my first foray into beauty alternatives.
Before, I was so focused on eating right and working out that I didn’t really pay attention to what bath and beauty products I was using. Since 2012 I’ve been working towards switching that and finding alternatives. It’s taken a while and there are some things that I’m still looking for but I’m getting closer each time.
I didn’t really document my journey to more natural skin and bath products here and looking back, I realize that I should have. I’ve learned a lot along the way and I’m still learning. It’s one of those things where there is always new stuff to discover and new techniques to try.
So I’ve decided to start discussing things a little bit more here and I’ve also created a space on Facebook dedicated to just talking about safer skincare and how we can start making changes.
Bath products, makeup, and skincare products make up a ton of products in our home. Without even realizing it, that means we have a bunch of toxic products in our home that can affect us in so many ways. This is the part that concerns me because the United States doesn’t have very many laws when it comes to monitoring and regulating skin care.
Guys, the US hasn’t updated regulating the ingredients used in cosmetic and personal care products since 1938. That was 78 years ago!
The EU currently has banned or restricted more than 1,300 harmful and toxic chemicals from personal care products, the US bans or restricts just 11.
AND, it only takes 26 seconds for chemicals from our products to enter our bloodstream. That is less than a minute. It is even less than half a minute!
Seriously, that’s some bullshit.
This is what made me really focus on switching out my products. I mean if I’m going to work hard to eat healthy and exercise, then I owe it to myself to also make sure that I’m not putting toxic chemicals on my body as well. Right?
As I started my search, Beautycounter popped up and then I saw several bloggers linking to the products. Then I saw almost all the bloggers I follow start linking to the products.
I will admit this turned me off a bit. I mean, so many people pushing it? It can’t be that good.
So I avoided it for months.
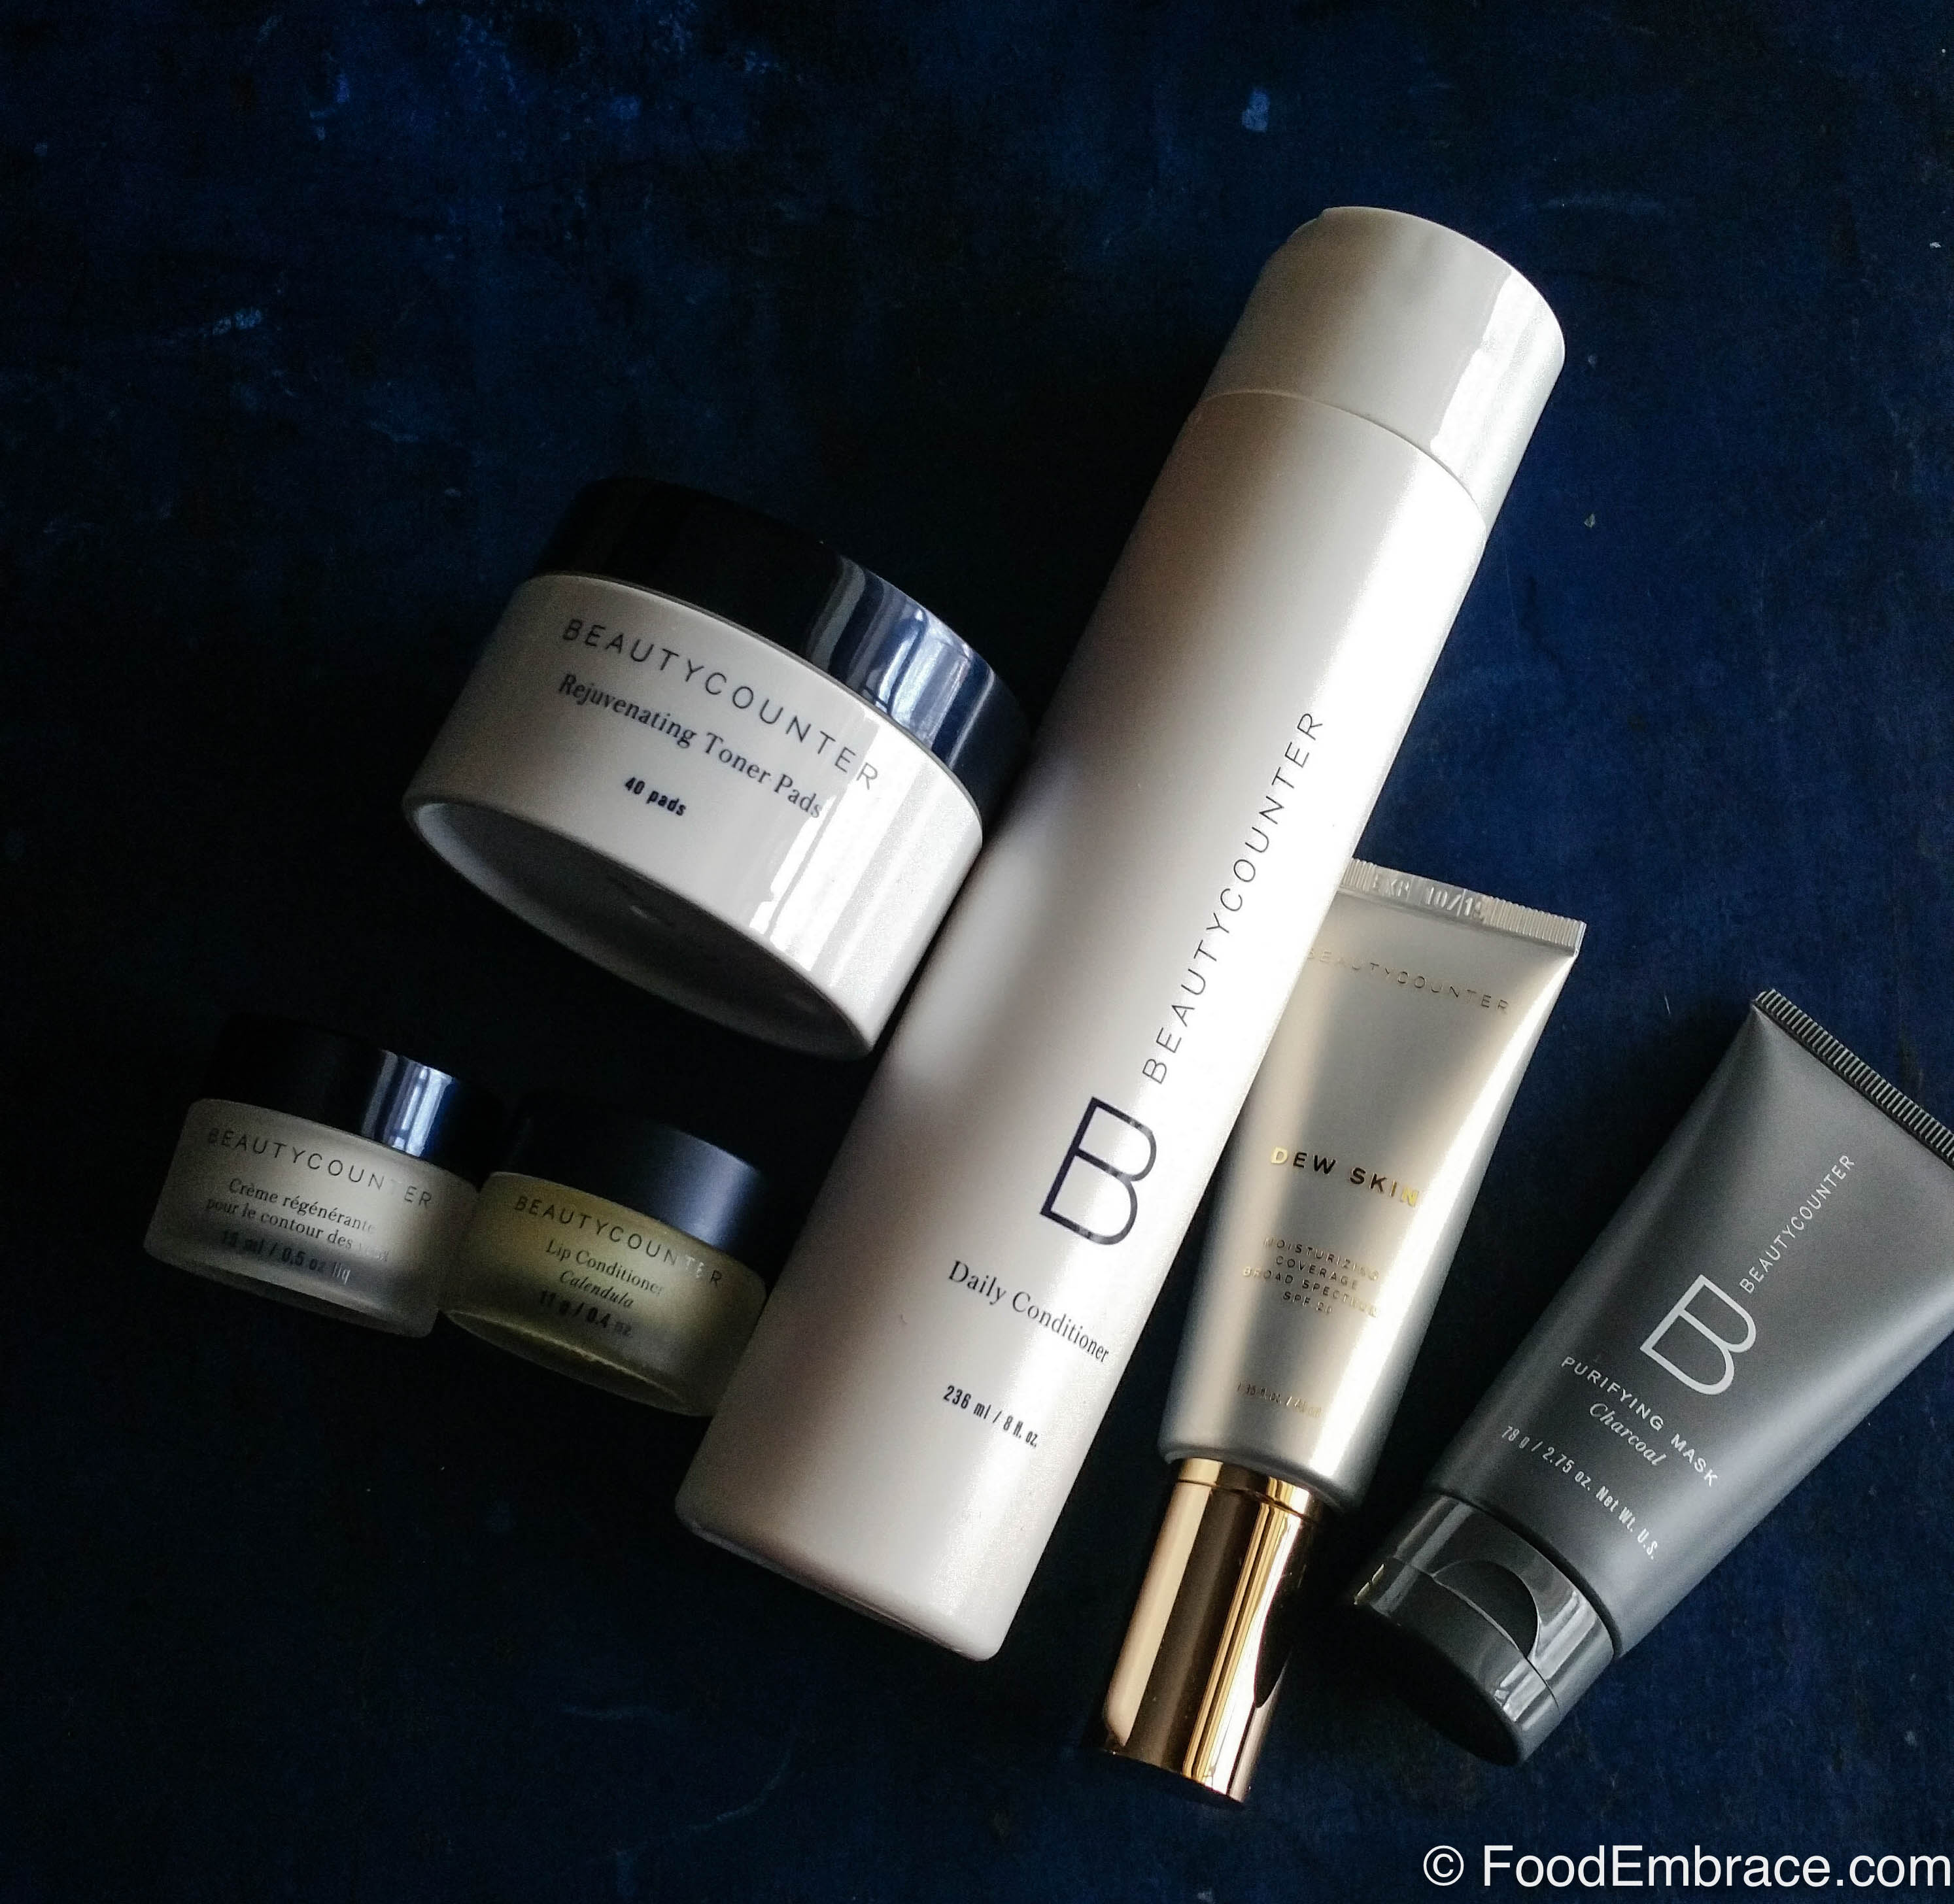
Eventually I caved. Beautycounter offers a lot of monthly deals and incentives. There’s almost always a chance to be able to try a product for free with purchase and that’s what I did. I took advantage of a sale they were having where it was BOGO on some of their more popular products. Dude. I got a $70 bottle of rejuvenating face lotion for free. It was a crazy good deal and I jumped in with both feet!
I also got their charcoal cleansing bar as well. I had tried a charcoal bar before from Lush but I have been looking to move away from them because their products weren’t quiet as safe as I wanted. Since I loved that charcoal bar, I thought going in and trying this new charcoal bar from Beautycounter would be an easy transition. Plus taking advantage of that sale, it introduced me to a wide range of products.
Y’all. I fell in love and hard. Seriously. This bar is a game changer when it comes to washing my face. And it lasts forever. Seriously I’m still on my first bar and it’s been six months. It’s awesome! It cleans my skin, pulls out toxins, and helps keep breakouts in check. I love it!
I also really loved the other products that I got and had such a great experience with the company that I made more purchases.
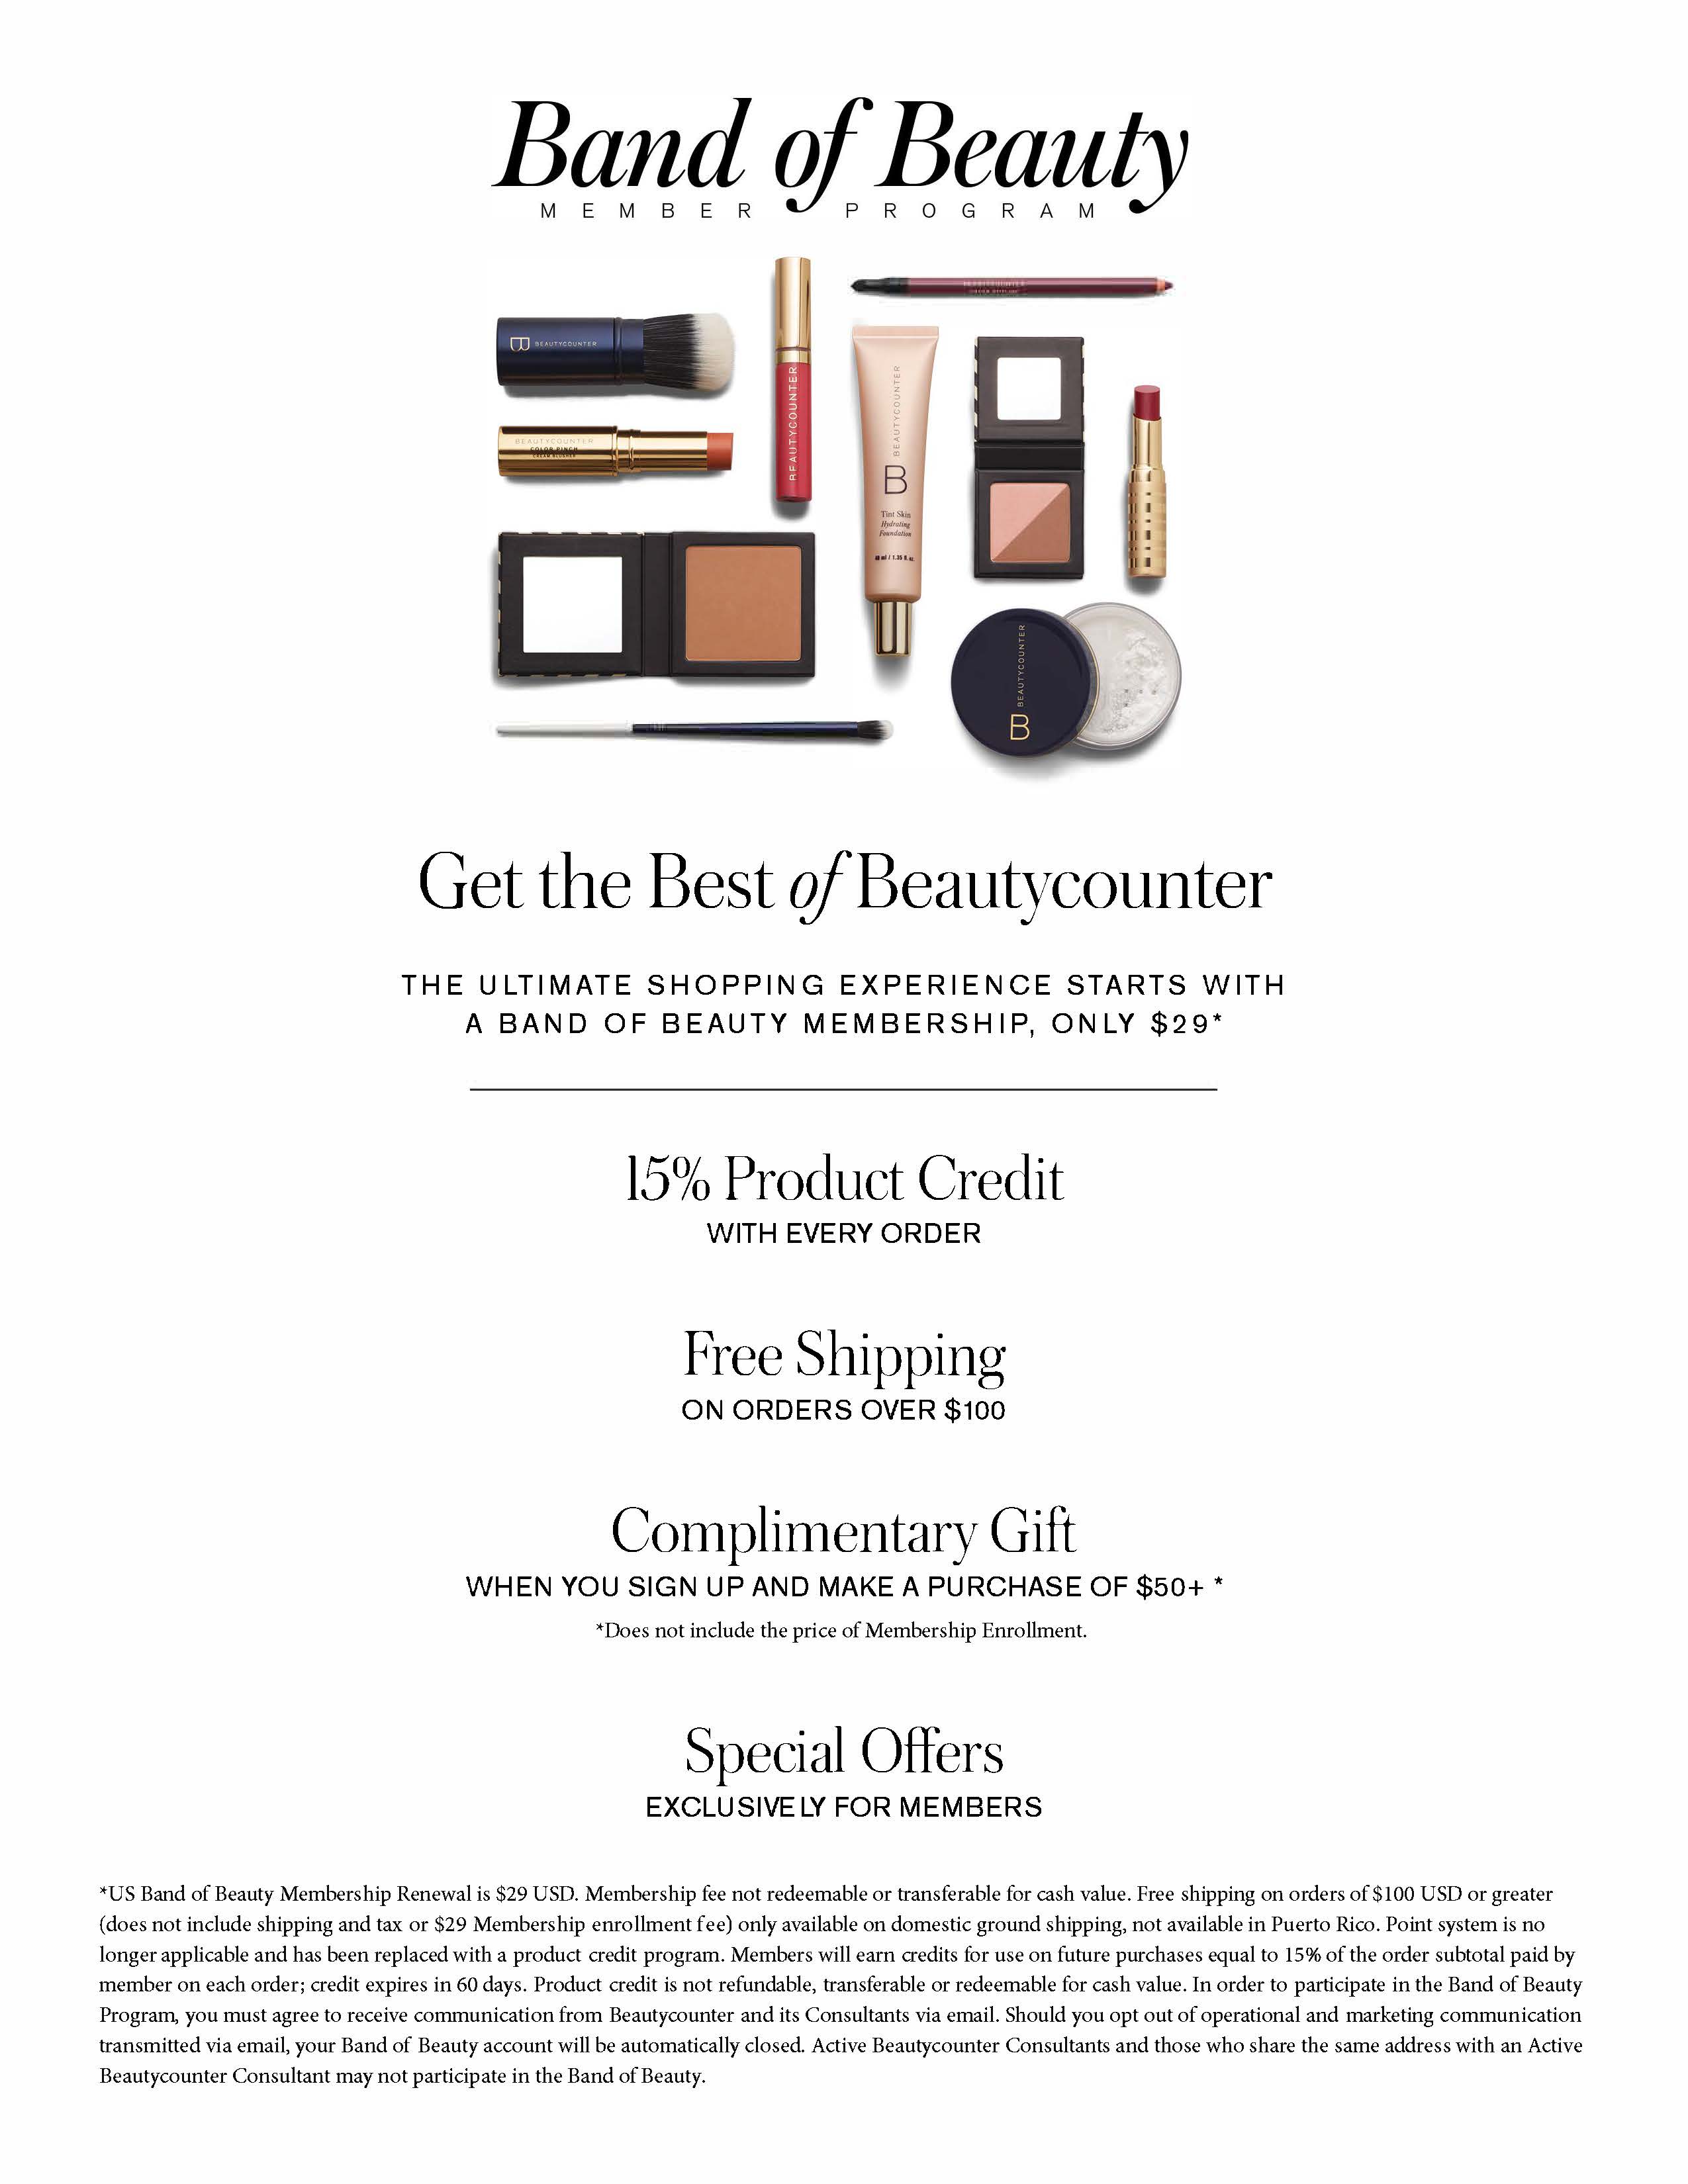
Eventually I became a member to take full advantage of their products and sales. I fell in love with the company even more.
Finding non-toxic products for self-care is now a top priority for me. I already have eliminated cleaning chemicals from our lives and have done so for years. Now it’s time to focus on the most important thing, ourselves!
I’m passionate about finding products that don’t have nasty chemicals and toxins and I want to share that with you!
I’ll be talking about it here as well but will be most active on my Facebook group where we can discuss non-toxic skincare, bath, and beauty products that we find and love. For both men and women! If you’re looking for kids products and baby products I can help there as well. I’ll be doing videos along with posts but my goal is to have an intimate group setting where we can discuss products that we’ve discovered along with the tips and tricks.
To kick this off and get started, I’ll be hosting a fun little social and giveaway there! I’ll be raffling off samples and doing some full size product giveaways as well! So join the group so you can stay updated and get all the details!
If you have any questions about products, shoot me an email ( Andrea AT Foodembrace.com ) or comment here!
This is so exciting guys! I’m stoked to be sharing this with you!
Disclaimer: Affiliate links are included in this article. This doesn’t add any additional cost to you but helps support the blog.